 Hyundai Equus: Smart Cruise Control Unit Repair procedures
Second generation VI (2009–2025) / Hyundai Equus VI 2009-2025 Service Manual / Engine Electrical System / Smart Cruise Control System / Smart Cruise Control Unit Repair procedures
| Removal |
| 1. |
Remove the bumper cover.
(Refer to Body - "Front Bumper Cover") |
| 2. |
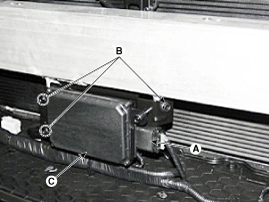
Disconnect the smart cruise control unit connector (A). |
| 3. |
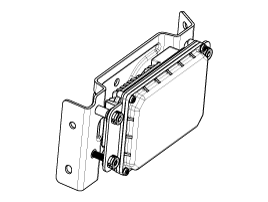
Loosen the nuts (B) and then remove the smart cruise control unit assembly (C) from the vehicle.
|
| Installation |
| 1. |
Install in the reverse order of removal. |
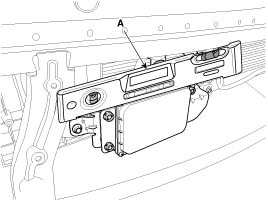
When installing the sensor, align the direction of sensor
with the vehicle motion vector and adjust the upside of sensor
horizontally using level meter (A).
|
| 1. |
Align the smart cruise control sensor.
(Refer to "Smart Cruise Control Sensor Alignment") |
| 2. |
Install the bumper cover.
(Refer to Body - "Front Bumper Cover") |
| Smart Cruise Control (SCC) Sensor Alignment |
The objective of the alignment is to ensure correct SCC
performance. In order for the sensor to perform correctly, the sensor
must be aligned correctly. The sensor alignment has major impact on road
estimation, lane prediction, and target processing. When the sensor is
misaligned, the performance of SCC cannot be guaranteed. Therefore, when
the sensor is reinstalled or a new sensor is installed on a vehicle,
the sensor shall be aligned by service personnel.
The sensor must be aligned when;
|
The sensor can not recognize a vehicle ahead.
|
Radar sensor should be aligned in vertical and horizontal
direction. Vertical alignment should be performed using level/tilt meter
and horizontal alignment should be performed by driving on a road.
| 1. |
To maintain the horizontal condition between a vehicle and ground, park a vehicle on a lift or level ground. |
| 2. |
Remove the bumper cover.
(Refer to Body - "Front Bumper Cover") |
| 3. |
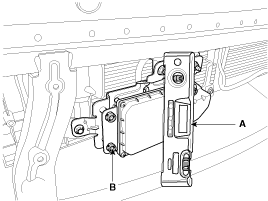
Check out the vertical alignment of sensor using a level/tilt meter. (Tolerance: ±1.25° less)
If verticality of the sensor is out of the tolerance, turn the adjustment screw (B) to adjust it within the tolerance.
|
| 4. |
Install the bumper cover.
(Refer to Body - "Front Bumper Cover") |
| 5. |
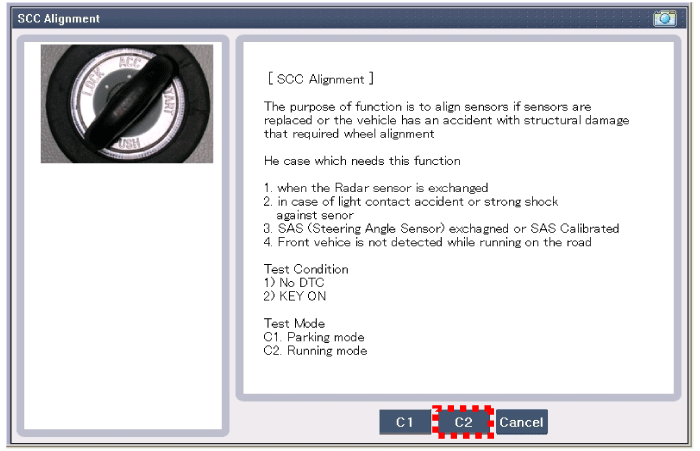
To perform the horizontal sensor alignment, connect GDS after starting the engine and choose “SCC Alignment”
|
| 6. |
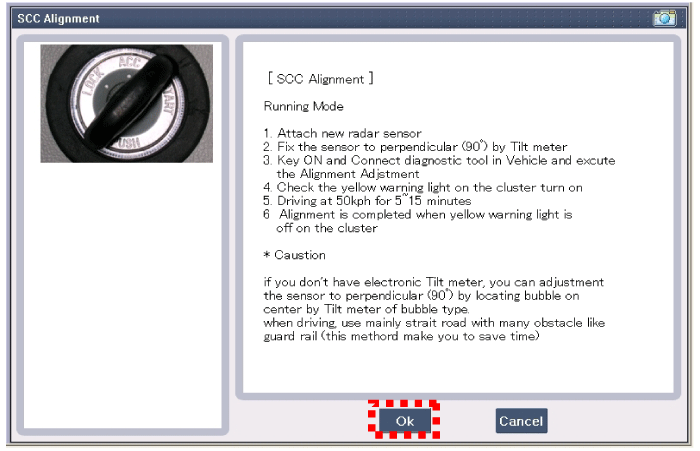
Select “Running Mode” to start sensor alignment.
|
| 7. |
Drive the vehicle after checking the alignment start on the GDS. Check the red light of instrument cluster is on.
|
| 8. |
After the sensor alignment is completed, the instrument cluster warning light is off.
|
 Smart Cruise Control Unit Schematic Diagrams
Circuit Diagram
...
 Smart Cruise Control Switch Components and Components Location
Components
1. SET - switch2. RES + switch3. SCC switch4. CANCEL switch5. CRUISE switch
...
See also:
Solenoid Valve Description and Operation
Description
Four air spring solenoid valves (‘-’ control) and one
ambient solenoid valve are embedded inside this solenoid valve block as
shown in the circuit diagram below. When connecting the ...
Power Seat Module(PSM) Description and Operation
Description
1.
Power Seat Module (PSM)
(1)
Main features
ItemDescriptionInstallation location Lower section of the driver side seatComponent configuration
1.
Embedded with CAN Communication ...
Inner panel fuse replacement
1. Turn the ignition switch and all other switches off.
2. Open the fuse panel cover.
3. Pull the suspected fuse straight out. Use the removal tool provided in the
driver’s side panel or the f ...
Categories
Hyundai Equus Manuals
© 2011-2025 Copyright www.heqmanual.com

